Posts

REVERSE ENGINEERED OBJECT - Final

Image
  ----------------------------------------------------------------------------------- This project took me a very long time to finish. It has many components that need to be measured, but luckily, we learned most methods in class, so it is not too hard.  The assemble took me much longer time than I expected, there are a few issues:  1) Some parts are not quite fit to each other. Even though in the drawing process, I tried my best to measure, errors still exist. Sometimes I felt it is not that important, the final outcome was just a concept, and it was fine to be not accurate. It turned out to be a big problem I needed to fix in the last step.  2)I had problems in the materials part, some materials look pure black in my components. I know some errors happen, but I don't know why. 3) The worst part, is the handle. It was not fit the shapes and screws at all. I was in despair, I spent a few hours to search a solution online, but I couldn't solve it. ...

Ring

Image
  I designed this Lotus ring. Mainly used trim, rotation, and BooleanDifference.  There are a few things I need to solve: 1) I don't know what format to output, I tried many different types of files as listed in the Shapeways, but none works yet. 2) There is a connection problem after the rendering. 

REVERSE ENGINEERED OBJECT: PROGRESS III (extended week)

Image
 This week, I modelled more details and more small pieces.  Now I finished all the elements I need and in the next step, I will move to the materials and environment.

REVERSE ENGINEERED OBJECT: PROGRESS II

Image
  This is my process so far. I made most big parts of the outer shell, and now I am moving to more details and small parts. I think if I have more time, I will be able to finish most parts of the clock.  However, I have not successfully made screws yet. I stuck in the little triangle part for screws. Drawings More pieces

OBJECT: PROGRESS

Image
 This week I broke my object and started to measure the big pieces and outter.  My plan for next week, I will dig into the inner part.

Shapes

Image
So far I sold most of them, I will come back for the last rectangle shape. Knowing how to use dimension to track every length, how to read the plan, and how to use Commend Move are most important (I think).  Important COMMEND in this assignment: Arc ExtrudeCrv Boolean Revolve Dimension

Laser Cutting

Image
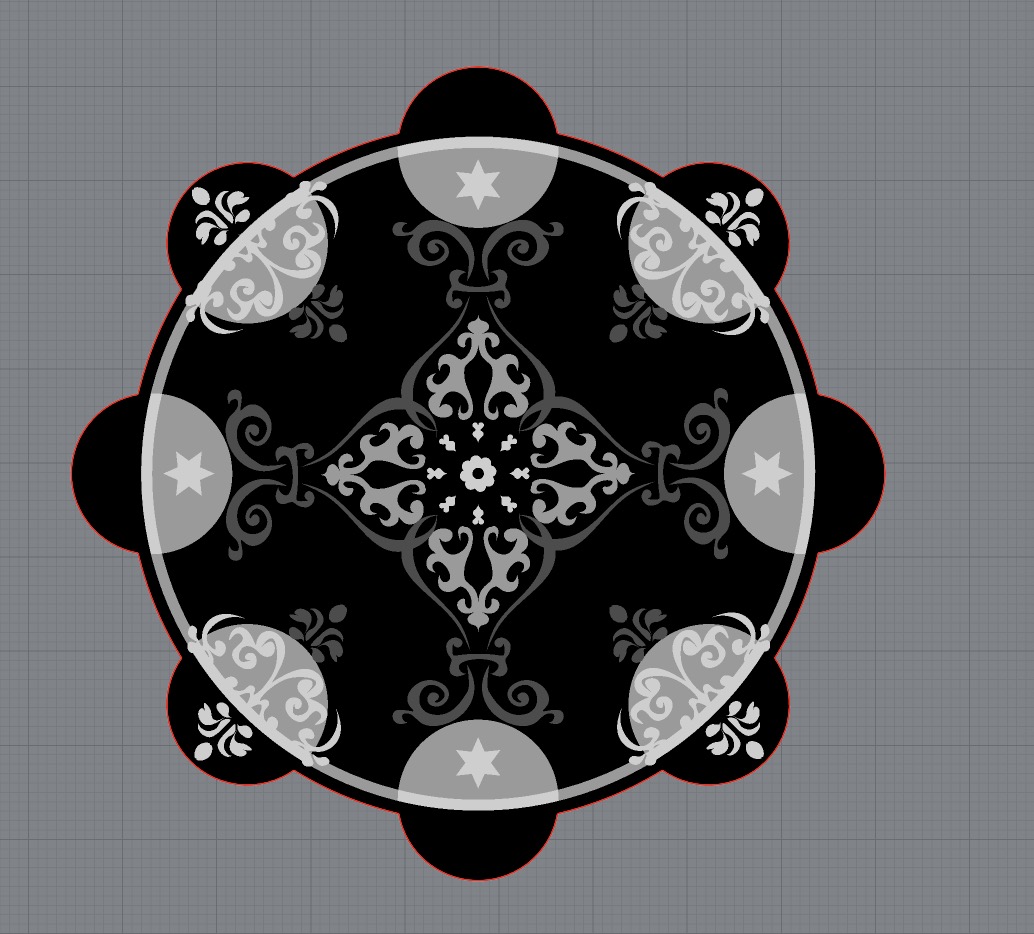
My original design is like that. And I chose Cherry Wood, because I thought the dark colour would be good. However, the deep grey and the black were too close to each other, and the patterns in the middle were very hard to see. And many lines were too thin and small details were hard to see. But the high contract part was good.  The first laser cut attempt Based on the first version,  I improved my original design and increased the contract. And changed the wood to Birch Plywood.  I also wanted to try a hollow design with simpler patterns. So I designed the second pattern. Both patters look good now, and I like them.